Join EKS cluster to Calico Cloud
Join EKS cluster to Calico Cloud
In order to complete this module, you must sign up for a free Calico Cloud trial account.
Steps to join cluster
Make sure to get your Calico Cloud trial account before proceeding.
Calico Cloud Registration
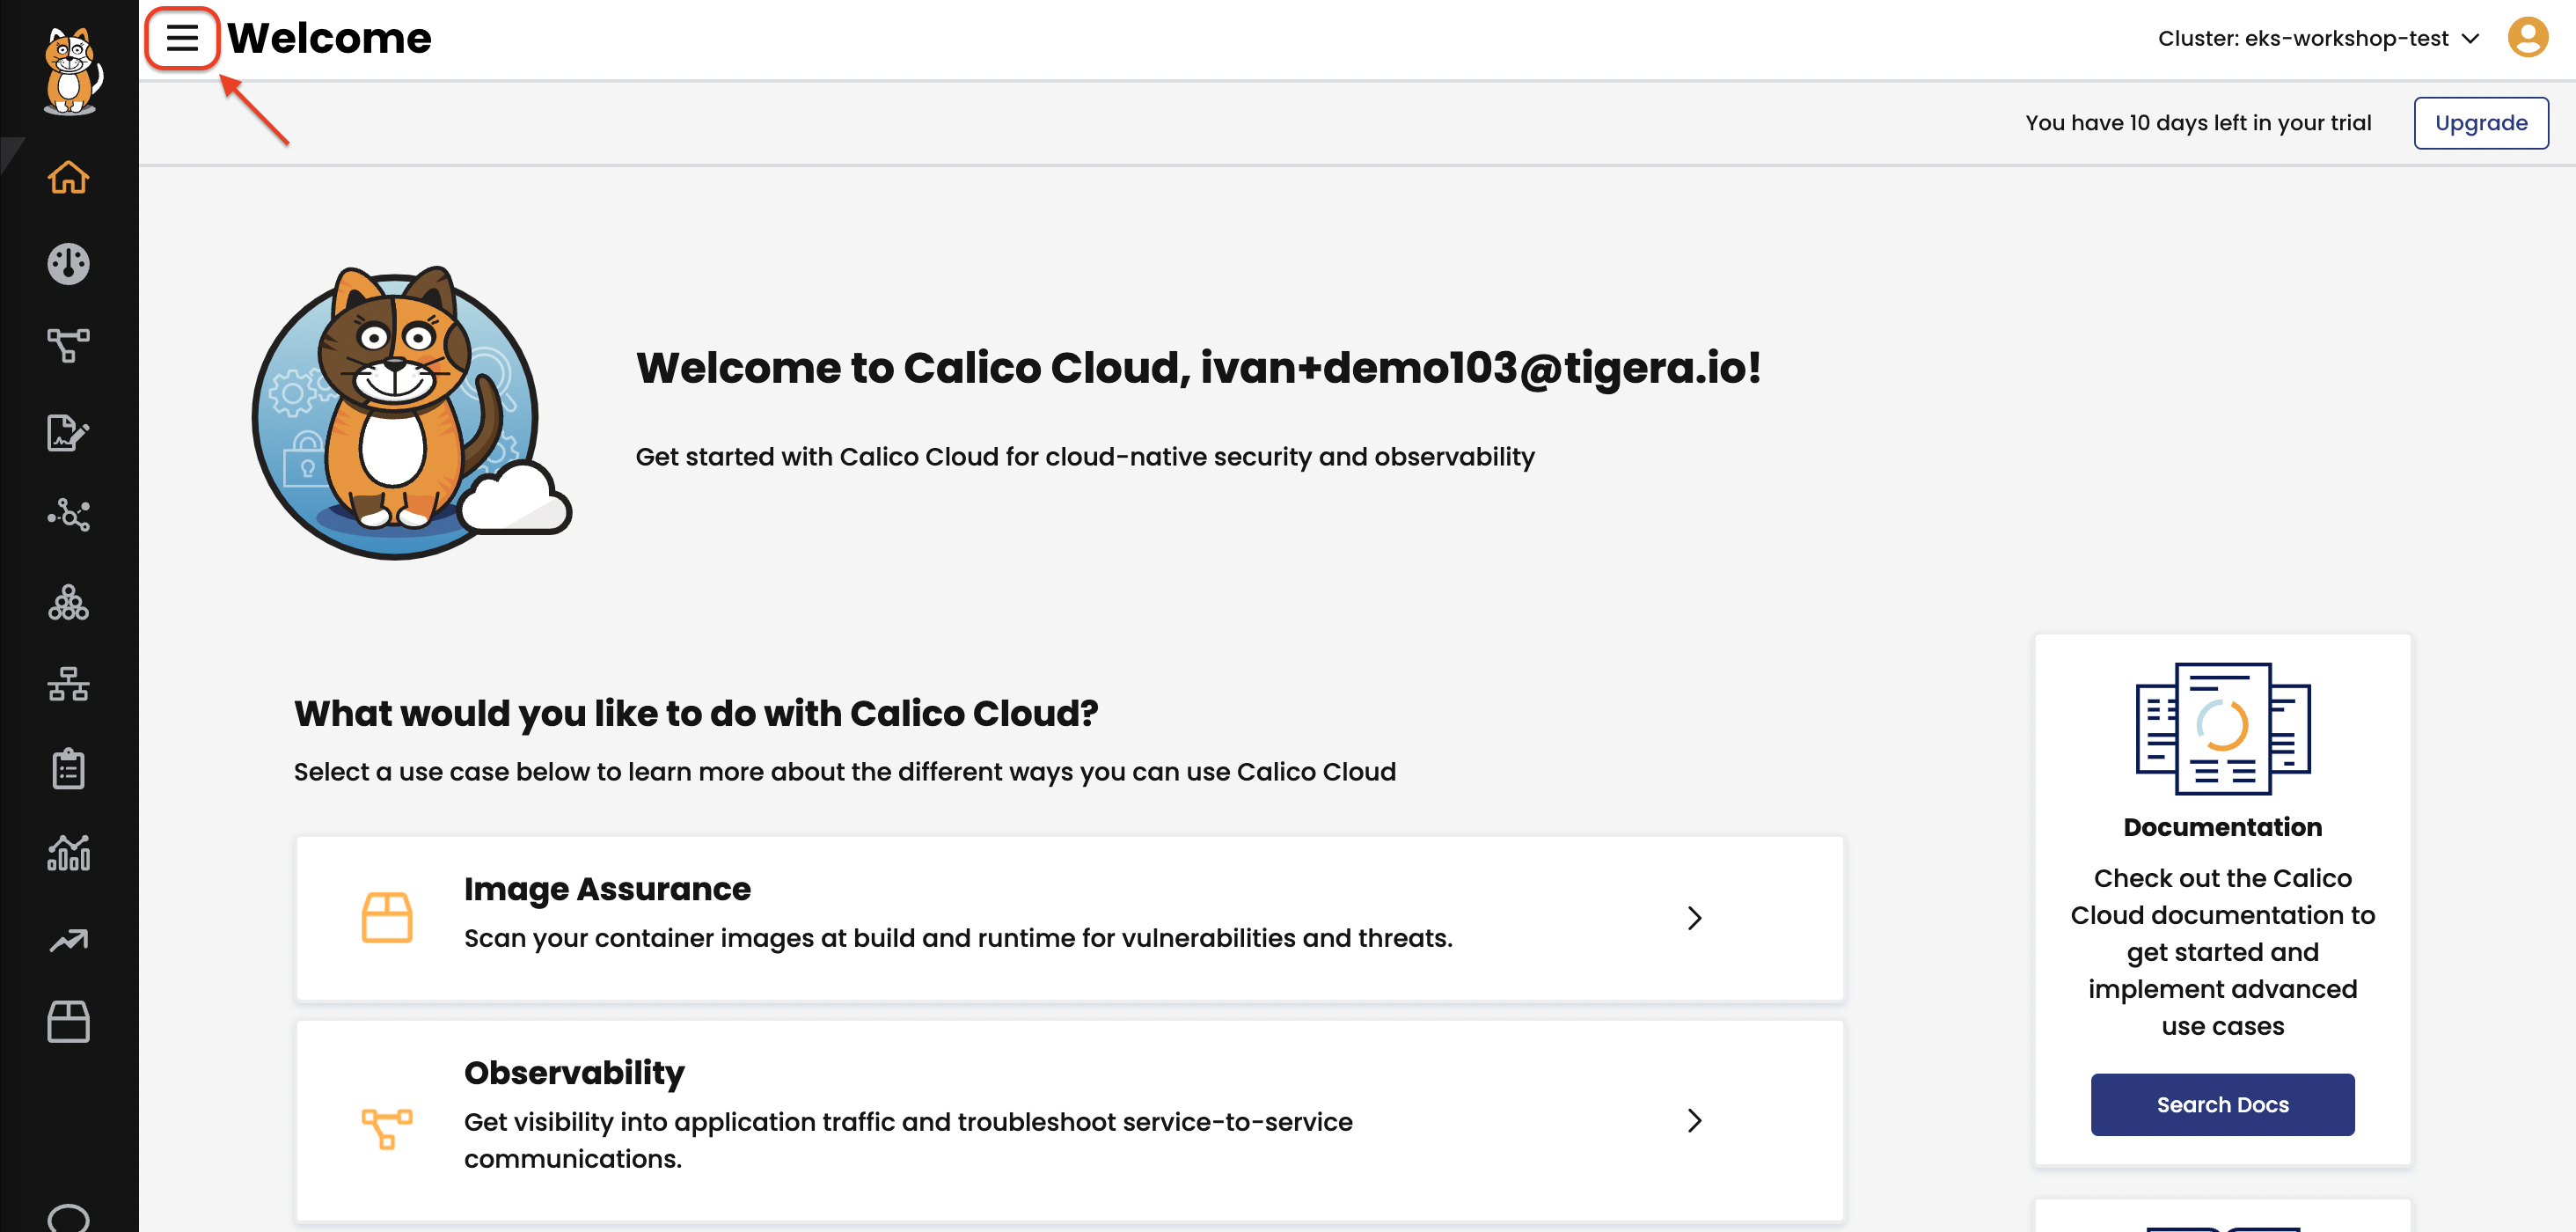
After verifying email activation, a browser tab of the Calico Cloud UI is launched which will ask for a few personal details. After this step the Welcome screen shows four use cases which will give a quick tour for learning more. Pick a use case to continue. Tip: the menu icons on the left can be expanded to display the worded menu as shown:
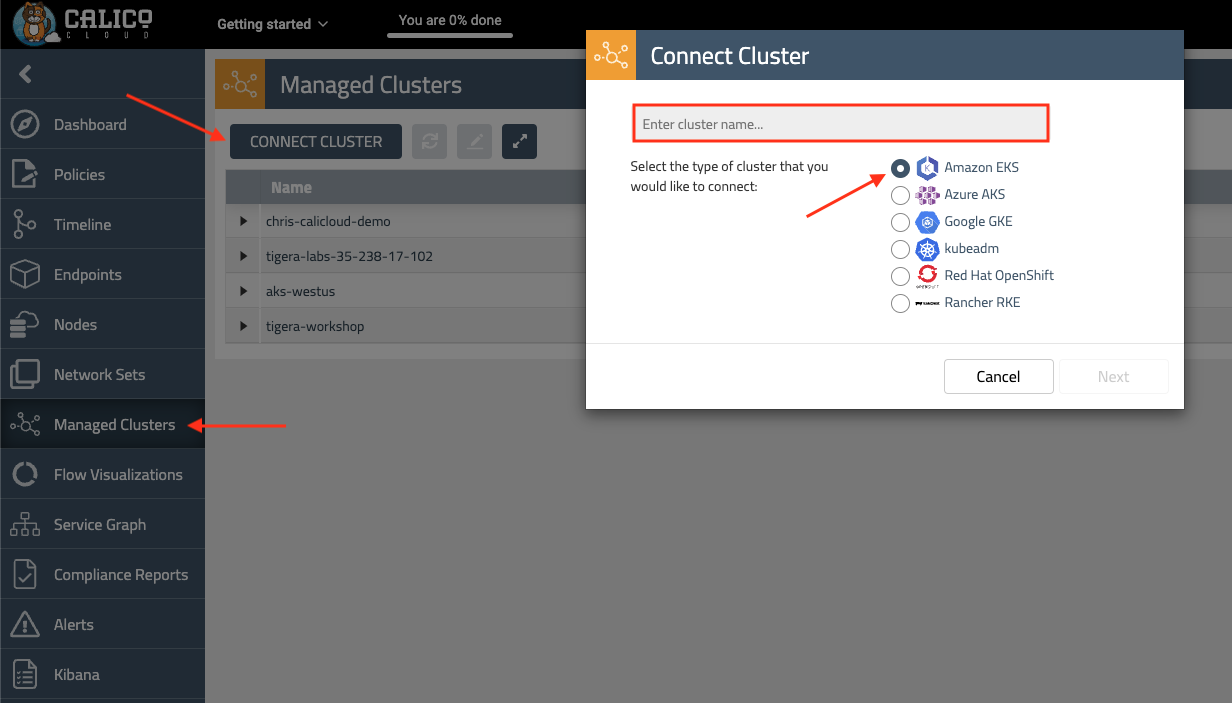
Join EKS cluster to Calico Cloud management plane
Click the “Managed Cluster” in your left side of browser, enter the name of your cluster, select the Amazon EKS and click “Next”
A custom token is generated along with the Calico Cloud Installer Operator manifest. The command will look similar to:
kubectl apply -f https://installer.calicocloud.io/manifests/cc-operator/latest/deploy.yaml && curl -H "Authorization: Bearer xxxxxxxxxxxx" "https://www.calicocloud.io/api/managed-cluster/deploy.yaml" | kubectl apply -f -Copy the output to clipboard and paste into your terminal to run. Output should look similar to:
namespace/calico-cloud created
customresourcedefinition.apiextensions.k8s.io/installers.operator.calicocloud.io created
serviceaccount/calico-cloud-controller-manager created
role.rbac.authorization.k8s.io/calico-cloud-leader-election-role created
clusterrole.rbac.authorization.k8s.io/calico-cloud-metrics-reader created
clusterrole.rbac.authorization.k8s.io/calico-cloud-proxy-role created
rolebinding.rbac.authorization.k8s.io/calico-cloud-leader-election-rolebinding created
clusterrolebinding.rbac.authorization.k8s.io/calico-cloud-installer-rbac created
clusterrolebinding.rbac.authorization.k8s.io/calico-cloud-proxy-rolebinding created
configmap/calico-cloud-manager-config created
service/calico-cloud-controller-manager-metrics-service created
deployment.apps/calico-cloud-controller-manager created
% Total    % Received % Xferd  Average Speed   Time    Time     Time  Current
                                Dload  Upload   Total   Spent    Left  Speed
100   355  100   355    0     0    541      0 --:--:-- --:--:-- --:--:--   541
secret/api-key created
installer.operator.calicocloud.io/aks-westus created
Joining the cluster to Calico Cloud can take a few minutes. Meanwhile the Calico resources can be monitored until they are all reporting
AvailableasTrue.kubectl get tigerastatus NAME AVAILABLE PROGRESSING DEGRADED SINCE apiserver True False False 96s calico True False False 16s compliance True False False 21s intrusion-detection True False False 41s log-collector True False False 21s management-cluster-connection True False False 51s monitor True False False 2m1sConfigure log aggregation and flush intervals. Also, configure pod level TCP stats collection.
kubectl patch felixconfiguration.p default -p '{"spec":{"flowLogsFlushInterval":"10s"}}'
kubectl patch felixconfiguration.p default -p '{"spec":{"dnsLogsFlushInterval":"10s"}}'
kubectl patch felixconfiguration.p default -p '{"spec":{"flowLogsFileAggregationKindForAllowed":1}}'
kubectl patch felixconfiguration.p default -p '{"spec":{"flowLogsCollectTcpStats":true}}'
Enable Felix component Policy Sync API.
Felix is one of Calico components that is responsible for configuring routes, ACLs, and anything else required on the host to provide desired connectivity for the endpoints on that host.
kubectl patch felixconfiguration default --type='merge' -p '{"spec":{"policySyncPathPrefix":"/var/run/nodeagent"}}'
You have now completed all the steps necessary to implement the workshop use cases using your Cloud9 workspace.